The way a pot is filled directly affects the health of the plant it hosts. Incorrect filling — compacted soil, insufficient drainage, unsuitable substrate — can lead to root rot, waterlogging and, in cold seasons, even damage the structure of the pot. Let’s see how to do it correctly.
The three-layer rule
A well-filled terracotta pot follows a classic layering that ensures drainage, root oxygenation and plant stability.
1. Drainage layer (at the base)
Above the drainage hole, cover the bottom with a porous material that prevents the soil from blocking the hole but allows excess water to drain out. The most commonly used materials are expanded clay, coarse gravel, broken terracotta shards or volcanic lapilli. The thickness depends on the size of the pot: 2–3 cm for small pots, 5–8 cm for large pots, up to 10–15 cm for jars and urns over 80 cm tall.
2. Soil layer
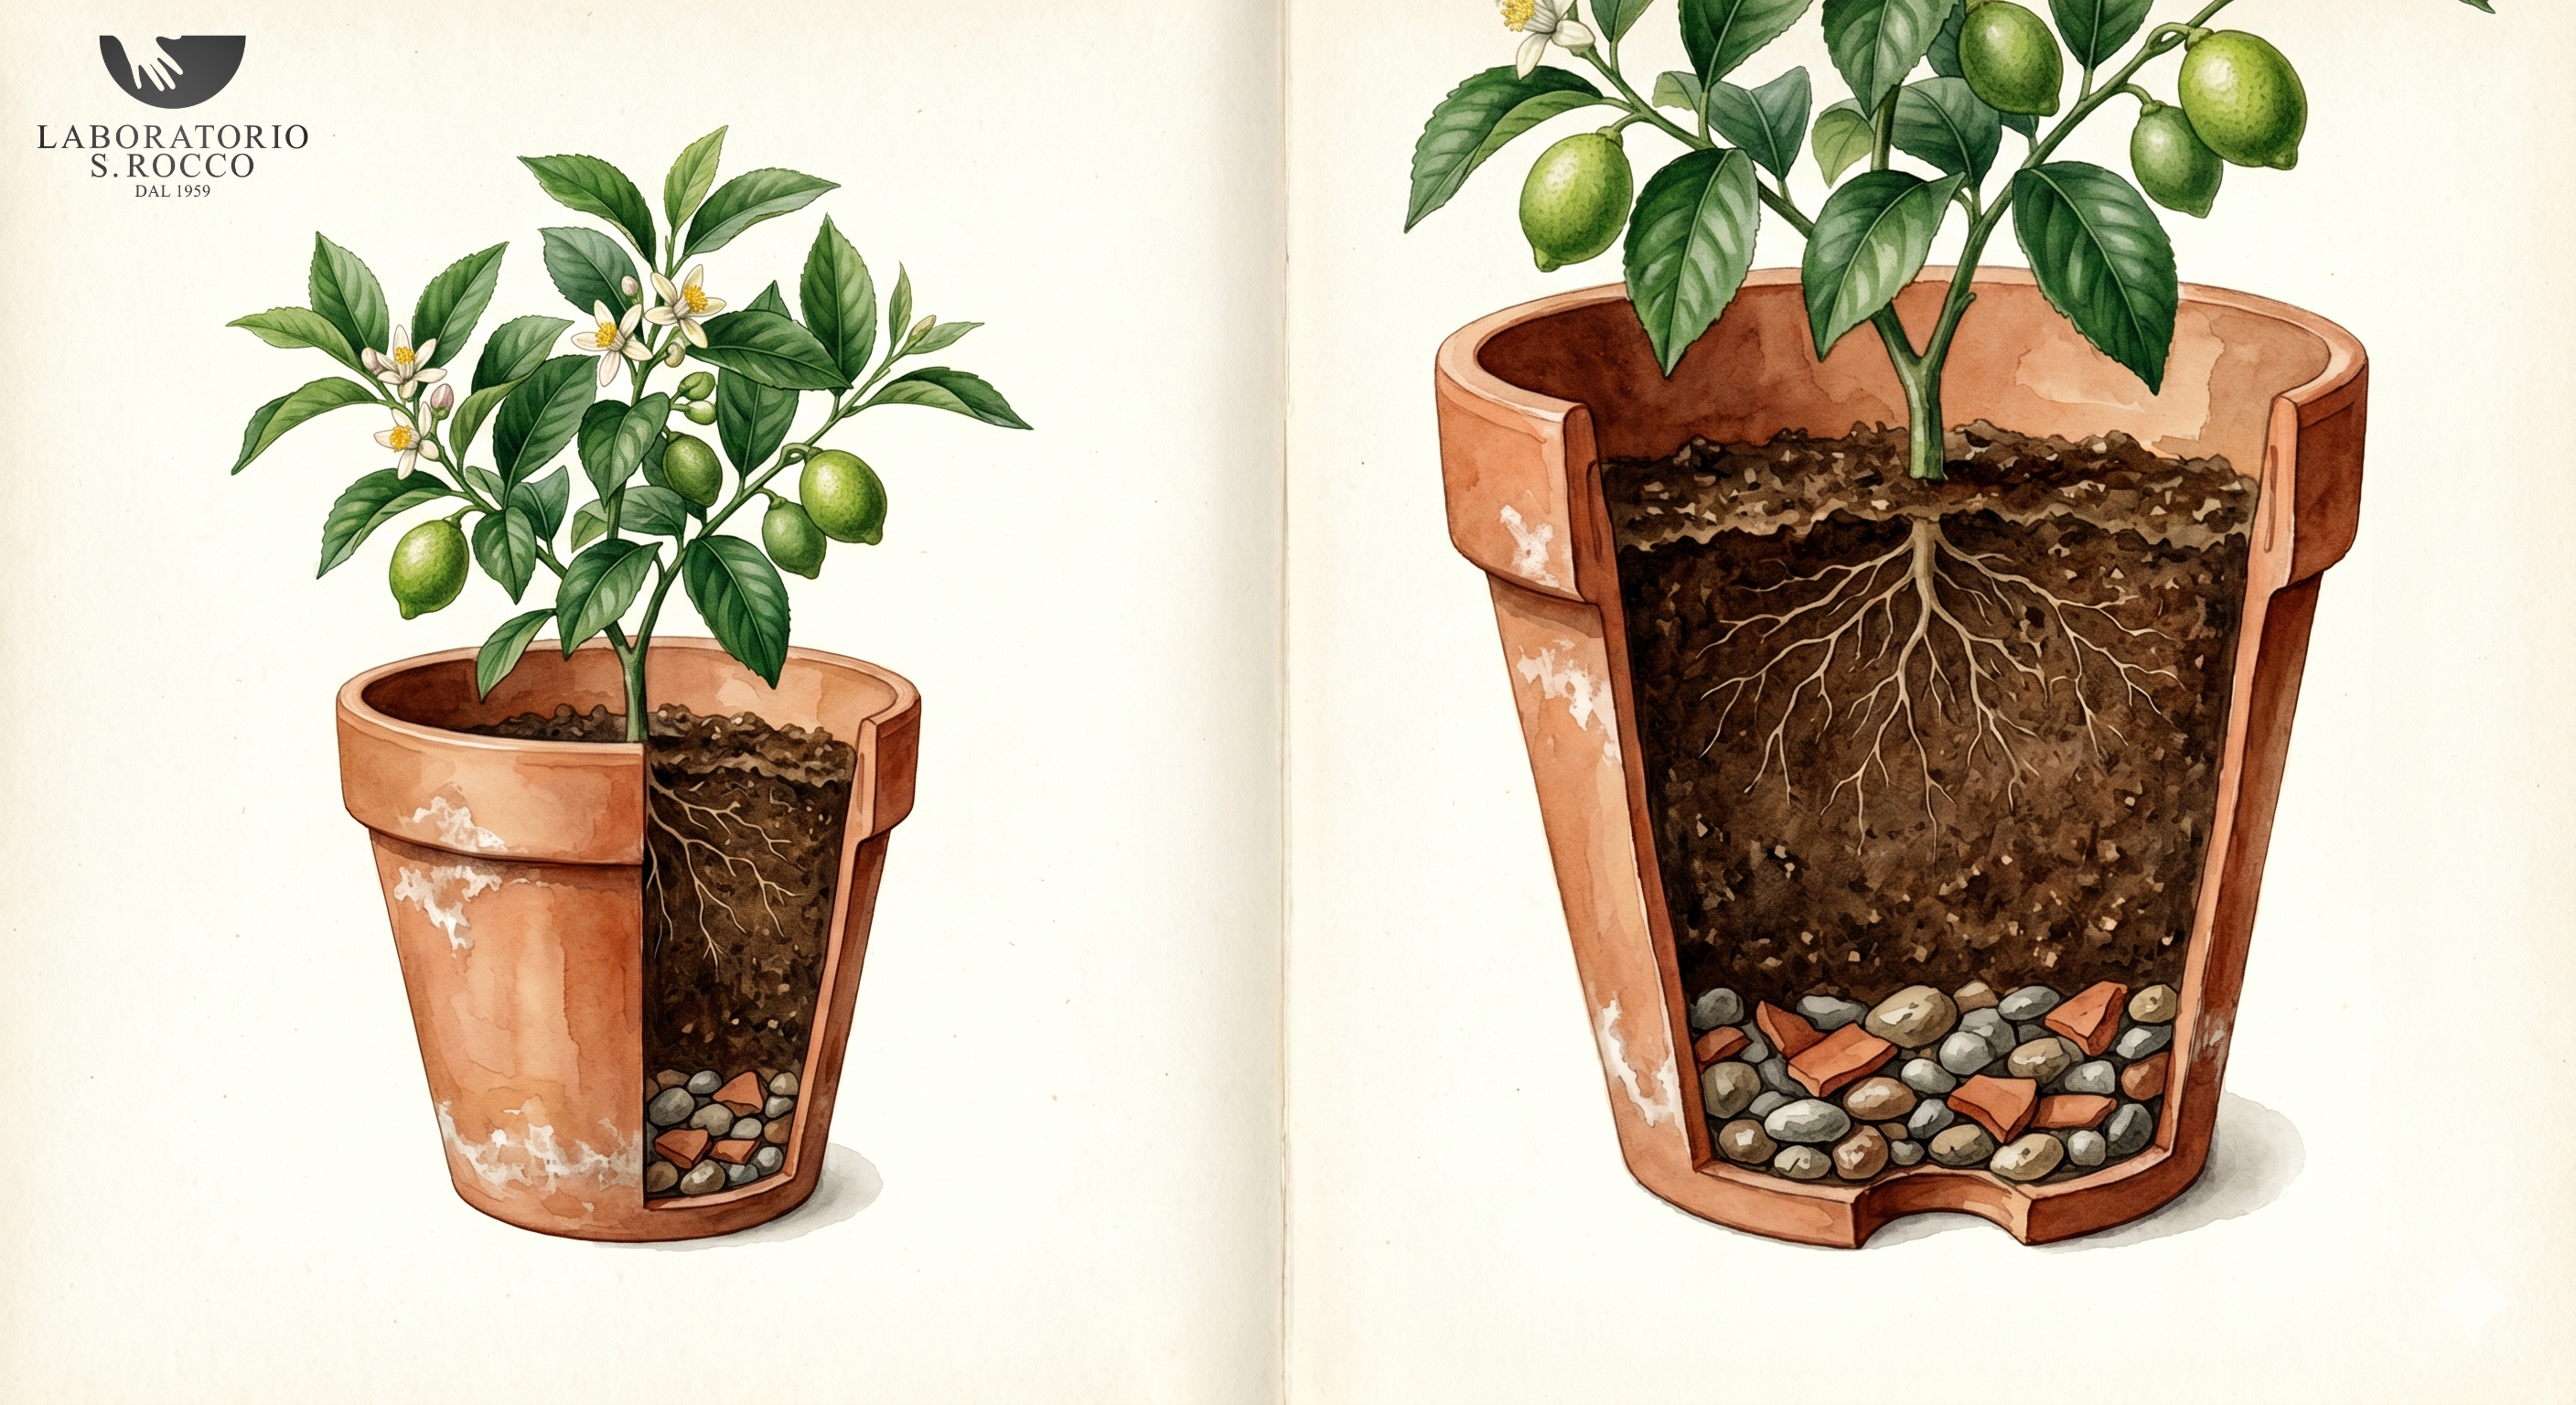
The actual substrate, chosen according to the type of plant. For Mediterranean plants (olive trees, rosemary, lavender) a draining soil with sand is needed. For citrus fruits (lemons, oranges) a specific citrus soil, richer and slightly acidic. For succulents, a sandy substrate. For annual flowers, a quality universal compost with peat and perlite. Gently compress the soil while filling, without crushing it: it must remain porous to allow air to reach the roots.
3. Free rim
Do not fill the pot to the brim. Always leave 2–3 cm of space between the soil level and the rim: this space is necessary to hold irrigation water without overflow. For very large pots, even 4–5 cm.
Tips for large pots
A jar 80 cm tall filled with wet soil can weigh over 100 kg. For large sizes it is worth adopting a few strategies.
Lighten the base.
In pots over 60 cm in diameter, the drainage layer can occupy up to one third of the total volume. In addition to expanded clay, you can place empty plastic bottles upside down on the base to further reduce weight. The bottles create an empty volume, maintain drainage and significantly reduce the amount of soil needed.
Consider the placement point.
Once filled, a large pot is practically impossible to move. Decide beforehand where you want to place it permanently and fill it there, or use a pot trolley before filling.
Non-woven fabric.
Between the drainage layer and the soil, some gardeners insert a sheet of non-woven fabric (TNT) to prevent fine soil from falling into the drainage material and clogging it over time. This is a useful precaution for pots that will remain in position for years.

Common mistakes to avoid
We advise you not to make these mistakes:
Skipping the drainage layer
This is the most frequent and most damaging mistake. Without a drainage system, water remains trapped at the bottom, roots rot and the substrate turns into a compact block. The hole at the base alone is not enough — draining material above it is essential.
Filling the pot “to the brim”
Without free space at the rim, every watering causes water and soil to overflow. The plant receives less water than you think you are giving it because most of it spills outside.
Using the wrong soil
A cheap universal substrate, rich in pure peat, retains too much moisture and compacts quickly. For terracotta pots — which already regulate moisture thanks to their porosity — a structured soil with perlite, sand or pumice is preferable.
Over-compacting the soil
Forcefully pressing the substrate expels air from the soil, suffocating the roots. It should instead be arranged gently, letting it settle naturally with the first waterings.
When and how to water after filling
Immediately after filling, water abundantly until you see water coming out of the drainage hole.
This serves three purposes: to wet the entire substrate evenly, to eliminate any air pockets, and to verify that drainage is working correctly.
In the following days, allow the substrate to dry slightly between waterings. Terracotta promotes lateral evaporation, so terracotta pots tend to dry out faster than plastic or resin pots — which is an advantage for plants that fear waterlogging.
Drainage is also winter protection
A well-drained substrate is the first defence against frost damage. Water trapped in the soil expands when it freezes, and this expansion can deform or crack even a frost-resistant certified pot. Correctly filled pots with good drainage withstand harsh winters perfectly.
Frequently asked questions
Yes, it is actually a traditional solution. Roughly break old broken pots and use the pieces as a drainage layer. Place at least one large shard over the drainage hole with the concave side facing down, so that it does not block it but acts as an umbrella.
It is not necessary to replace it completely every year for perennial plants. It is sufficient to renew the first 5–10 cm of soil in spring, adding fresh substrate and slow-release fertiliser. Complete replacement is appropriate every 3–4 years or when repotting the plant.
Roughly: a pot with a 40 cm diameter weighs about 15–20 kg when full; one of 60 cm about 40–50 kg; a jar 100 cm tall easily exceeds 100 kg. For terraces and balconies, always check the structural load capacity.
For outdoor terracotta pots it is often preferable not to use a saucer, because the water that collects underneath can cause waterlogging. If the pot rests on a delicate surface (wood, parquet, marble) it is better to raise it with dedicated terracotta feet, which allow free water drainage while keeping the surface dry.